
-
WDFW: Salmon fishing to closed April 20 in Marine Area 5 (Sekiu and Pillar Point)
Action: Closes salmon fishing. Effective date: April 20 through April 30, 2024. Species affected: All salmon. Location: Marine...
-
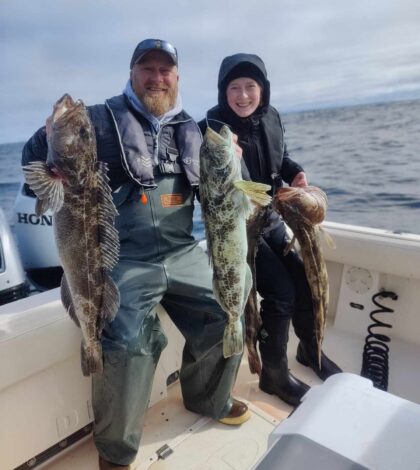
Fishing Reports – April 17, 2024
Washington A reminder for Washington anglers: 2023-2024 licenses expired on March 31, 2024 and anglers will...
-
WDFW: Washington salmon fishing seasons tentatively set for 2024-2025
SEATTLE – Anglers in Washington can expect similar salmon fishing opportunities in 2024-2025 compared to last...
Latest News
-
 WDFW: Salmon fishing to closed April 20 in Marine Area 5 (Sekiu and Pillar Point)
Action: Closes salmon fishing. Effective date: April 20 through April 30, 2024. Species affected: All salmon. Location: Marine Area 5 (Sekiu and Pillar Point). Reason for action: Estimates of landed catch to...
- April 18, 2024
-
 Fishing Reports – April 17, 2024
Washington A reminder for Washington anglers: 2023-2024 licenses expired on March 31, 2024 and anglers will need new licenses for April 1, 2024 through March 31, 2025. You can...
- April 17, 2024
-
WDFW: Winter Chinook salmon fishery in Marine Area 11 (Tacoma-Vashon Island) extended two days
OLYMPIA – Washington Department of Fish and Wildlife (WDFW) fishery managers announced today to extend winter Chinook salmon fishing in Marine Area 11 (Tacoma-Vashon Island) for two additional days...
- April 12, 2024